Prerequisites:
- installed Eclipse 4.2 or later
- installed Maven plugin for Eclipse
Instructions:
-
Open Eclipse, choose
File->New->Project...


-
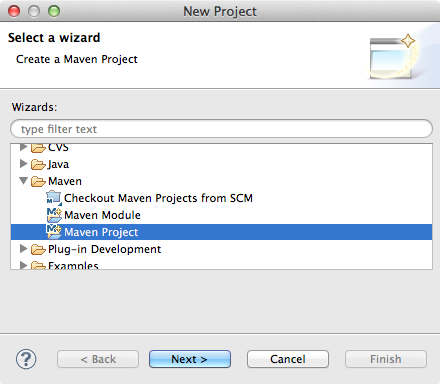
Choose
Maven Projectand clickNext >
-
Check
Create a simple project (skip archetype selection)and clickNext >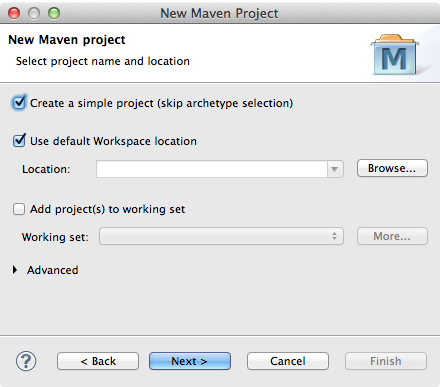
-
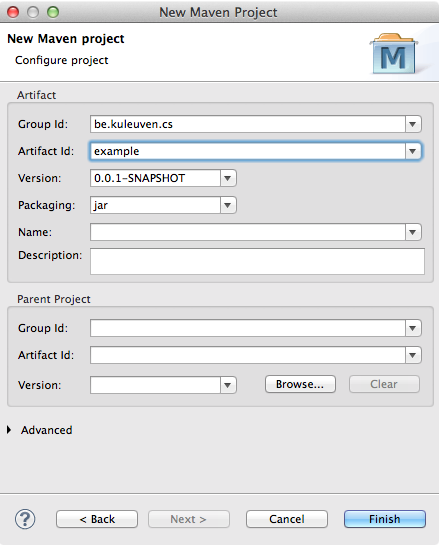
For
Group Id:choose a unique personal identifier, often a reversed Internet domain name is used for this. ForArtifact Id:choose an identifier for your project.
ClickFinish
-
In your
Package Exploreryou should see the following:
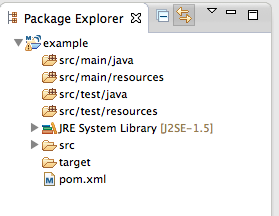
Note that by default Maven uses (the ancient) Java 1.5. Since RinSim requires at least Java 1.7 we will change this in the next steps. -
Open the
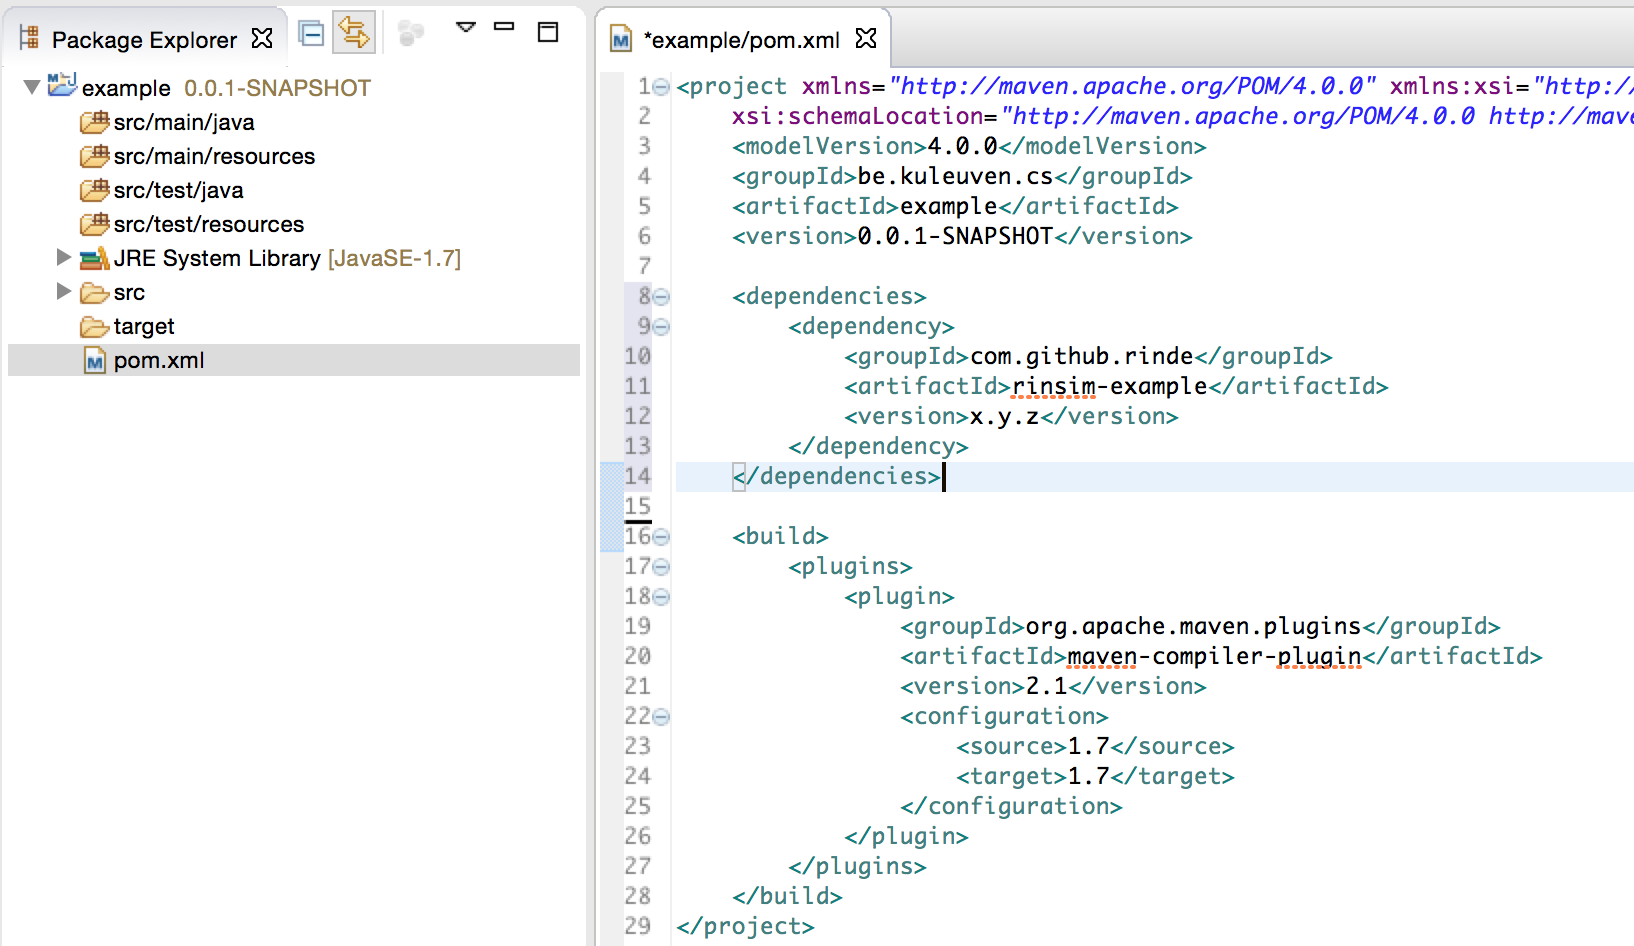
pom.xmlfile with theMaven POM Editor. Choose thepom.xmltab in the bottom.

- You will see an XML view of the file. Add (paste) the following XML code between the
projecttags. Make sure to not overwrite the existing XML tags.<dependencies> <dependency> <groupId>com.github.rinde</groupId> <artifactId>rinsim-example</artifactId> <version>x.y.z</version> </dependency> </dependencies> <build> <plugins> <plugin> <groupId>org.apache.maven.plugins</groupId> <artifactId>maven-compiler-plugin</artifactId> <version>2.1</version> <configuration> <source>1.7</source> <target>1.7</target> </configuration> </plugin> </plugins> </build> -
Replace
x.y.zwith the current latest version (the latest version is shown here). The pom file should now look similar to this:
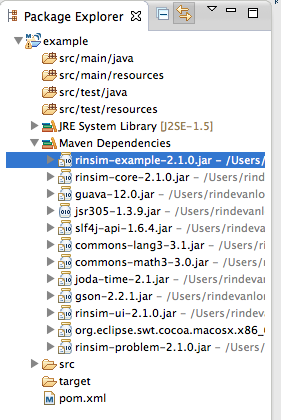
Check that theJRE System Libraryas shown by Eclipse is version 1.7 (or higher), if this isn’t the case it often helps to force Maven to update the project: right click on your project ->Maven->Update Project... If that doesn’t work it may be that Eclipse can’t find a correct Java version in which case you need to update your Eclipse settings. -
Maven will now start downloading the dependencies. When it is done, make sure your can find the
rinsim-example-x.y.z.jarin yourPackage Explorer:
-
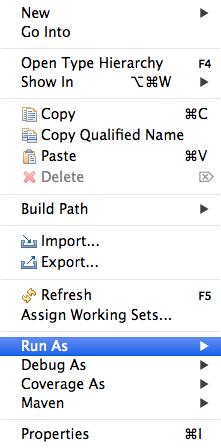
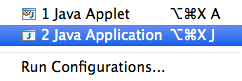
Right click
rinsim-example-x.y.z.jar->Run As->Java Application
-
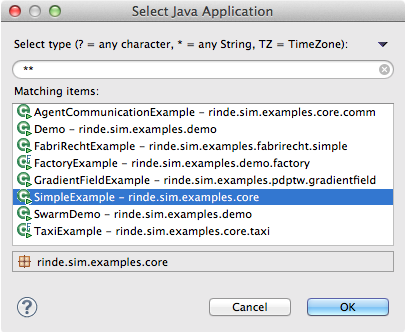
You will see the following window, select
SimpleExampleand clickOk
- You should now see the following window:
This is an animation of the simple example.
Congratulations, Your setup is complete, you can start working with RinSim!
Click Control -> Play to start the simulation. For more information about the other available examples, click here.
Maven -> Download Sources